How to Blacken Stainless Steel: 5 Easy Step-by-Step Guidelines
Stainless steel is a staple in kitchens, workshops, and industrial settings thanks to its durability, corrosion resistance, and sleek silver finish. But what if you want to add a touch of sophistication, hide unsightly scratches, or enhance its protective properties? Blackening stainless steel is the perfect solution. Contrary to popular belief, achieving a rich, long-lasting black finish doesn’t require professional tools or advanced expertise. This guide breaks down 5 easy, actionable guidelines to help you blacken stainless steel at home or in your workshop, with clear steps for every method and project type.
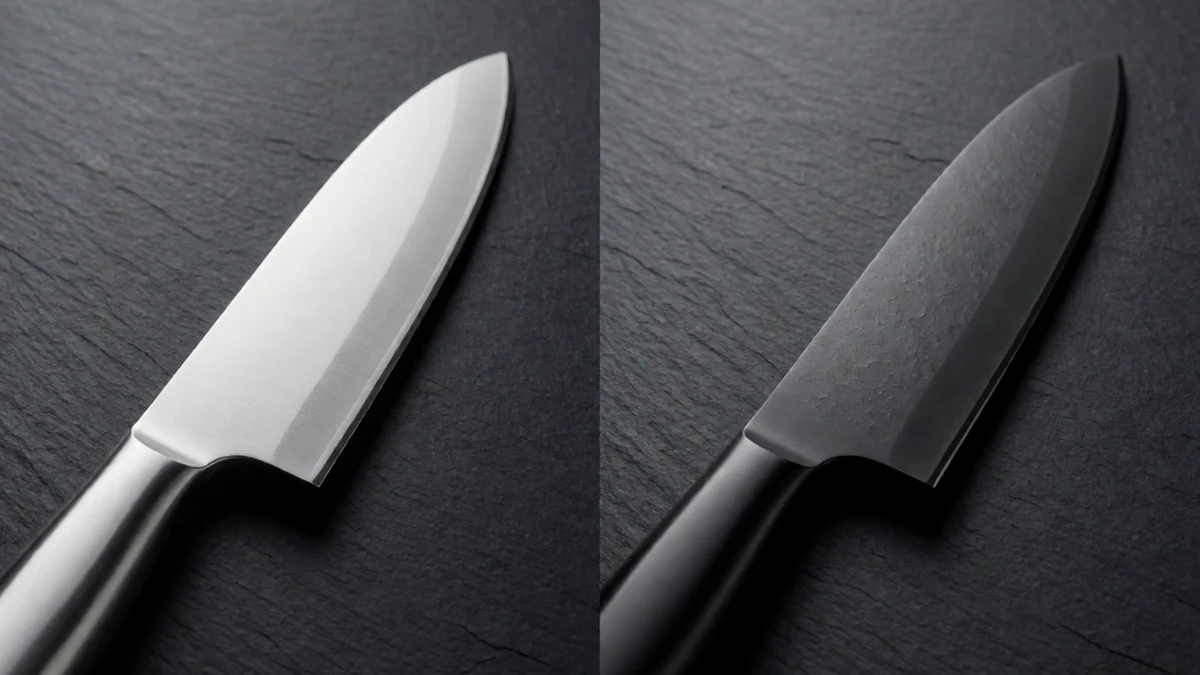
Table of Contents#
- Guideline 1: Prepare Your Workspace & Gather Essential Materials
- Guideline 2: Clean and Prep the Stainless Steel Surface
- Guideline 3: Choose the Right Blackening Method for Your Project
- Guideline 4: Apply the Blackening Treatment Step-by-Step
- Guideline 5: Seal and Maintain Your Blackened Stainless Steel Finish
- Conclusion
- References
Guideline 1: Prepare Your Workspace & Gather Essential Materials#
Blackening stainless steel involves chemicals, heat, or abrasive materials, so safety and organization are non-negotiable. Here’s how to set up:
Workspace Prep#
- Ventilation: Work in a well-ventilated area (open windows, use a fume hood, or set up a fan) to avoid inhaling toxic fumes from chemicals or heated metal.
- Surface Protection: Cover floors and workbenches with plastic sheeting or newspaper to catch spills, dust, or paint overspray.
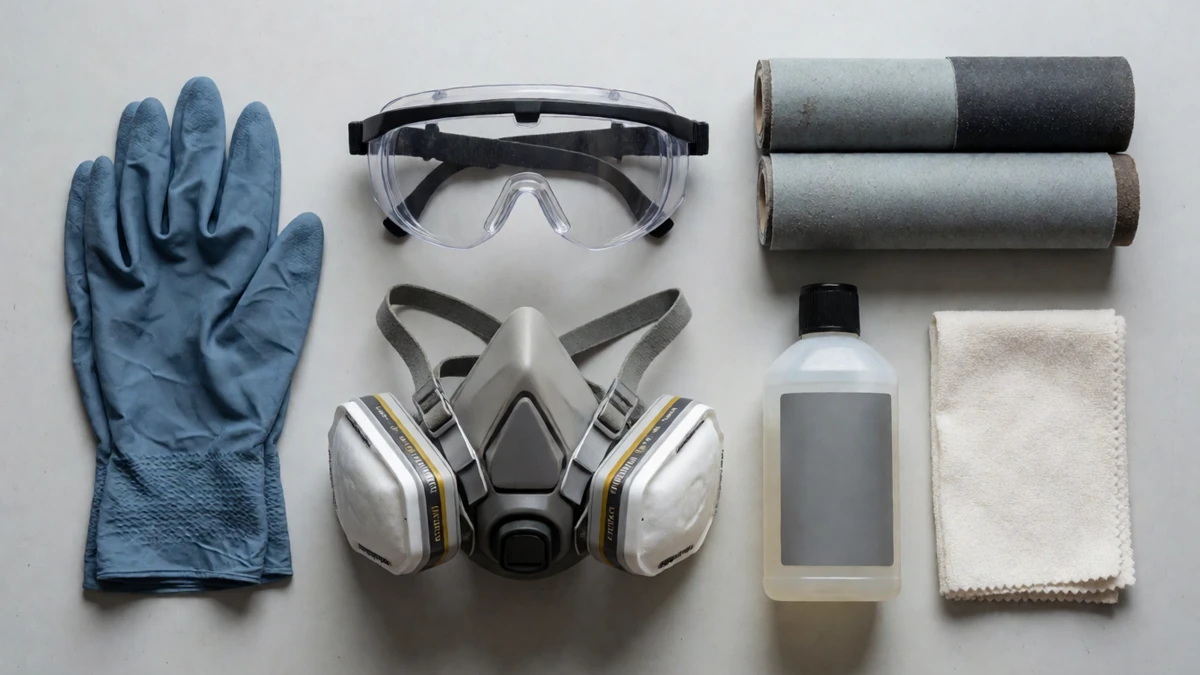
- Safety Gear: Wear nitrile gloves (to protect against chemicals), safety goggles (to shield eyes from splatters), a respirator mask (for fumes), and long sleeves (to prevent burns or skin irritation).
Essential Materials#
| Category | Items |
|---|---|
| Cleaning Supplies | Degreaser (dish soap or industrial degreaser), 220-400 grit sandpaper, steel wool, isopropyl alcohol, lint-free cloths |
| Blackening Agents | Blackening paste (e.g., Birchwood Casey Stainless Steel Black), propane torch, high-temperature black spray paint |
| Sealing Products | UV-resistant clear acrylic spray, automotive wax, epoxy resin |
| Tools | Brush (for paste), heat-resistant gloves, quenching oil/water, power supply (for electropolishing) |
Guideline 2: Clean and Prep the Stainless Steel Surface#
Stainless steel has a passive chromium oxide layer that prevents rust but can block blackening. Proper prep ensures the blackening agent adheres evenly:
- Degrease: Apply degreaser to the surface and scrub with steel wool or a stiff brush to remove oil, grease, or dirt. Rinse with water and dry thoroughly.
- Roughen the Surface: Use 220-grit sandpaper to sand the entire surface (this removes the passive oxide layer). Follow up with 400-grit sandpaper for a smooth, uniform base. Wipe away dust with a lint-free cloth.
- Remove Residue: Dampen a cloth with isopropyl alcohol and wipe the surface to eliminate any remaining grease or dust. Let it air dry completely before proceeding—moisture can ruin the finish.
Guideline 3: Choose the Right Blackening Method for Your Project#
Not all blackening methods are created equal. Pick one based on your project’s size, desired finish, and skill level:
1. Chemical Blackening#
- Best For: Durable, uniform finishes on hardware, tools, or small metal parts.
- Pros: Long-lasting, corrosion-resistant, easy to control darkness level.
- Cons: Requires strict safety precautions (toxic fumes), proper chemical disposal is necessary.
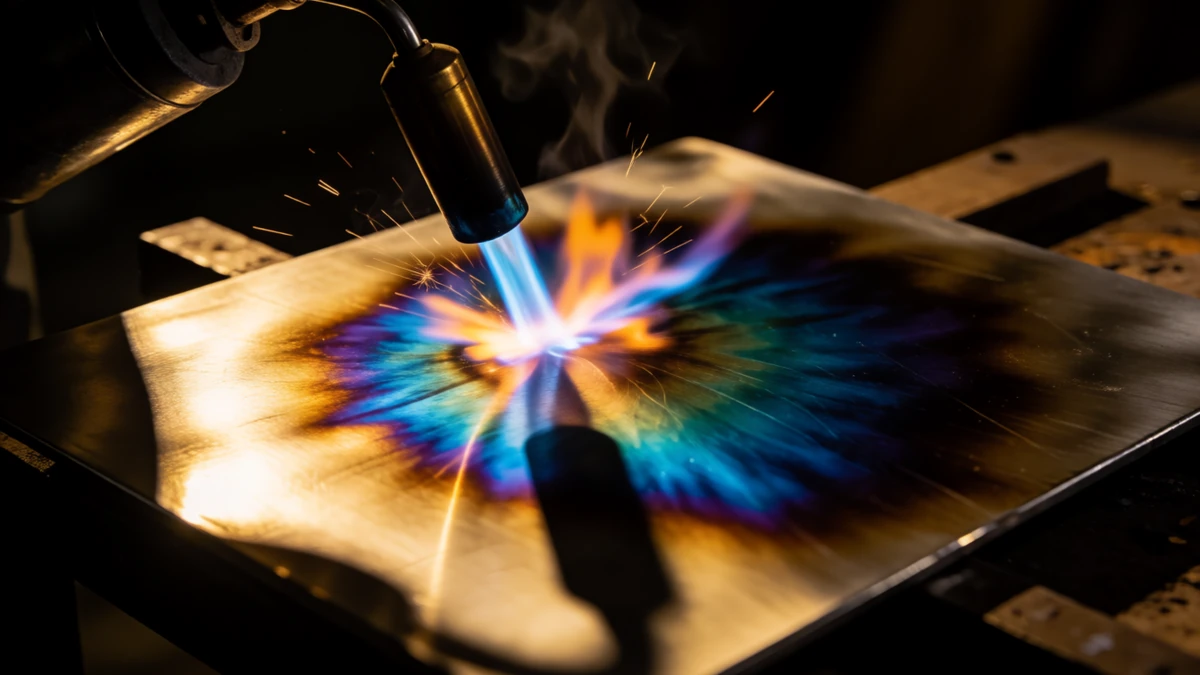
2. Heat Blackening#
- Best For: Artistic projects or items where a unique, organic patina is desired.
- Pros: No chemicals (eco-friendly), creates one-of-a-kind color variations.
- Cons: Inconsistent results, high heat required, risk of uneven discoloration.
3. Spray Paint Blackening#
- Best For: Quick, temporary projects or large surfaces (e.g., appliances, furniture).
- Pros: Fast application, customizable colors, minimal prep work.
- Cons: Less durable (prone to chipping), doesn’t penetrate the metal like other methods.
4. Chemical Blackening with Potassium Sulfide#
- Best For: Durable, uniform black finish on stainless steel hardware, tools, or small metal parts.
- Pros: Specifically formulated for stainless steel, produces consistent dark finish, long-lasting.
- Cons: Requires safety precautions (toxic fumes), proper chemical disposal necessary.
5. High-Temperature Bluing#
- Best For: Industrial or workshop settings with proper heat equipment.
- Pros: Produces a durable, traditional blue-black finish, excellent adhesion to metal.
- Cons: Requires specialized equipment (high-heat furnace or torch), not practical for home environments.
Guideline 4: Apply the Blackening Treatment Step-by-Step#
Follow these detailed steps for your chosen method:
Chemical Blackening#
- Mix the chemical solution according to the manufacturer’s instructions (e.g., dilute ferric chloride with water).
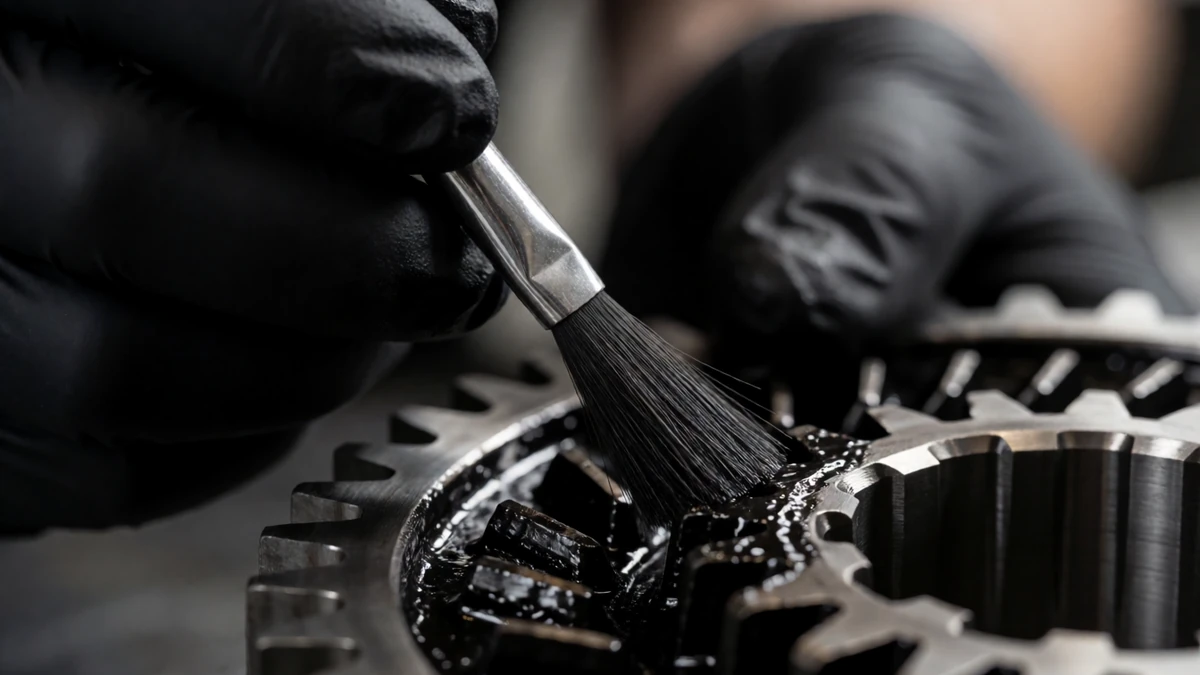
- Submerge the item in the solution or apply blackening paste with a brush.
- Let it sit for 5-15 minutes (check periodically until you achieve the desired darkness).
- Remove the item, rinse thoroughly with cold water, and dry immediately with a lint-free cloth.
- Neutralize the surface with a baking soda solution (1 tbsp baking soda per 1 cup water) to stop the chemical reaction.
Heat Blackening#
- Wear heat-resistant gloves and work in a fire-safe area.
- Use a propane torch to heat the surface evenly (move the torch in circular motions to avoid hot spots). The metal will turn bronze, then blue, then deep black.
- Once blackened, quench the item in oil (for a glossy finish) or water (for a matte finish).
- Wipe away excess oil with a cloth and let it cool completely.
Spray Paint Blackening#
- Shake the spray can for 2-3 minutes to mix the paint thoroughly.
- Hold the can 6-8 inches away from the surface and apply thin, even coats (avoid drips).
- Let each coat dry for 15-20 minutes before applying the next (2-3 coats are typically needed).
- Let the final coat cure for 24 hours before handling the item.
Guideline 5: Seal and Maintain Your Blackened Stainless Steel Finish#
Sealing protects the black finish from scratches, fading, and corrosion. Follow these steps:
Sealing Process#
- Clean the blackened surface again with isopropyl alcohol to remove any residue from the blackening treatment.
- Apply your chosen sealant:
- Clear Acrylic Spray: Hold the can 6-8 inches away, apply even strokes, and let dry for 30 minutes. Repeat for 2-3 coats.
- Automotive Wax: Use a soft cloth to apply a thin layer, then buff after 15 minutes.
- Epoxy Resin: Mix the resin and hardener, apply with a brush, and let cure for 24 hours.
- Let the sealant cure completely (follow manufacturer timelines) before using the item.
Maintenance Tips#
- Avoid abrasive cleaners (steel wool, scouring pads) that can scratch the finish.
- Wipe the surface regularly with mild soap and water to remove dirt and grime.
- Re-seal the finish every 6-12 months (depending on use) to maintain its durability and color.
- If scratches occur, touch up the area with the same blackening method and re-seal the spot.
Conclusion#
Blackening stainless steel is a versatile way to transform ordinary metal into a sophisticated, durable material. By following these 5 guidelines—prepping your workspace, cleaning the surface, choosing the right method, applying the treatment, and sealing the finish—you can achieve professional-looking results at home. Start with a small project (like a knife handle or hardware) to practice, and don’t be afraid to experiment with different methods to find the perfect finish for your needs.
References#
- Birchwood Casey. (n.d.). Stainless Steel Black Instructions. Retrieved from https://www.birchwoodcasey.com/products/stainless-steel-black
- Rust-Oleum. (n.d.). Specialty High Heat Spray Paint Guide. Retrieved from https://www.rustoleum.com/products/specialty-high-heat-spray-paint/
- Stainless Steel World. (2022). Blackening Stainless Steel: Methods and Applications. Retrieved from https://www.stainlesssteelworld.net/technical-articles/blackening-stainless-steel-methods-and-applications/